Spring - OpenFeign
- -
본 포스팅은 spring boot 3.2.2 버전을 기준으로 작성되었습니다.
공부한 내용을 정리하는 블로그와 관련 코드를 공유하는 Github이 있습니다.
open feign이란?
feign은 Netflix에서 개발된 Http client binder로 REST Call을 위해 호출하는 클라이언트를 보다 쉽게 작성할 수 있도록 도와주는 라이브러리입니다. spring의 경우 spring-cloud-starter-openfeign 라이브러리 추가로 사용할 수 있습니다. spring cloud는 spring mvc annotation에 대한 지원과 sprinb web에서 사용되는 것과 동일한 HttpMessageConverters를 지원합니다.
의존성 및 client
build.gradle.kts
dependencies {
    implementation("org.springframework.cloud:spring-cloud-starter-openfeign")
    // okhttp
    implementation("io.github.openfeign:feign-okhttp")
    // apache
//    implementation("io.github.openfeign:feign-hc5")
    implementation("io.github.openfeign:feign-jackson")
}

extra["springCloudVersion"] = "2023.0.0"

dependencyManagement {
    imports {
        mavenBom("org.springframework.cloud:spring-cloud-dependencies:${property("springCloudVersion")}")
    }
}
Feign은 Apache HttpClient, OkHttp Client 등 다양한 HTTP 클라이언트를 주입받아서 동작합니다. 특별한 설정을 하지 않으면 Feign이 제공하는 기본 클라이언트를 사용합니다. java 17 버전 이전의 경우, 기본 클라이언트는 HttpURLConnection 클래스를 사용하기 때문에 동시성 문제가 발생할 수 있습니다. 따라서 공식 문서에 언급되어 있는 apache 또는 okhttp 사용이 권장됩니다.
application.yml
spring:
  cloud:
    openfeign:
      # okhttp의 경우
      okhttp:
        enabled: true
      # apache의 경우
      httpclient:
        hc5:
          enabled: true
사용하는 client에 따라 application.yml에 설정을 해줍니다.
@EnableFeignClients
@EnableFeignClients
@SpringBootApplication
class ClientApplication

fun main(args: Array<String>) {
    runApplication<ClientApplication>(*args)
}
@EnableFeignClients는 @FeignCleint 애노테이션이 붙은 클래스를 찾아다니면서 구현체를 만들어줍니다. 따라서 root package에 있어야 하며, 그렇지 않은 경우 basePackages 또는 basePackageClasses를 지정해줘야 합니다.
@FeignClient
@FeignClient(name = "article")
interface ArticleClient {

    @PostMapping("/articles")
    fun save(@RequestBody articleSaveCommand: ArticleSaveCommand): ArticleResponse

    @GetMapping("/articles/{id}")
    fun get(@PathVariable id: String): ArticleResponse?

    @PatchMapping("/articles/{id}")
    fun update(@PathVariable id: String, @RequestBody articleUpdateCommand: ArticleUpdateCommand): ArticleResponse?

    @DeleteMapping("/articles/{id}")
    fun delete(@PathVariable id: String): ArticleResponse?
}
인터페이스만 위와 같이 만들어주고 사용하는 곳에서는 아래와 같이 가져다 사용하면 됩니다.
@Component
class ArticleTest(
    private val articleClient: ArticleClient,
) {

    fun test() {
        articleClient.save(command)
        articleClient.update(id, command)
        articleClient.delete(id)
        articleClient.get(id)
    }
}
timeout
해당 클라이언트에 대한 url 및 timeout 설정은 application.yml에서 할 수 있습니다.
spring:
  cloud:
    openfeign:
      okhttp:
        enabled: true
      client:
        config:
          article: # feign client name
            url: http://localhost:8081
            connectTimeout: 3000
            readTimeout: 3000
          default:
            connectTimeout: 3000
            readTimeout: 3000
spring.cloud.openfeign.client.config.XXX에 클라이언트에 대한 설정을 명시할 수 있습니다. 앞서 @FeignClient(name = "article")에 name이 article이므로 article 클라이언트에 대한 설정은 위와 같이 작성할 수 있습니다.
@ConfigurationProperties(prefix = "spring.cloud.openfeign.httpclient")
public class FeignHttpClientProperties {}

@Configuration(proxyBeanMethods = false)
@ConditionalOnClass(Feign.class)
@EnableConfigurationProperties({ FeignClientProperties.class, FeignHttpClientProperties.class,
		FeignEncoderProperties.class })
public class FeignAutoConfiguration {
}
이외의 추가적인 client에 대한 properties는 org.springframework.cloud.openfeign.support.FeignHttpClientProperties에서 확인할 수 있습니다. 그리고 해당 properties를 사용하여 client를 만드는 과정은 org.springframework.cloud.openfeign.FeignAutoConfiguration 클래스에서 확인할 수 있습니다. 특정 client에 대한 설정이 아닌 global 설정은 default에서 설정할 수 있습니다.
로깅
## 로깅 DEBUG 설정
logging.level.<packageName>.<className> = DEBUG
logging.level.<packageName> = DEBUG


# ex
logging.level.com.example.client.client.ArticleClient: DEBUG
feign에 대한 로깅을 활성화하려면 application.yml에 feign 클라이언트가 포함된 클래스나 패키지에 대해서 로깅 수준을 DEBUG로 설정해야 합니다.
spring:
    cloud:
    openfeign:
        client:
            config:
            article:
                # 로깅 레벨 설정
                loggerLevel: basic
그리고 각 feign 클라이언트에 대한 로깅 수준을 설정할 수 있습니다.
- NONE : 로깅하지 않음(default)
- BASIC : 요청 method, url, 응답 상태 코드, 실행 시간
- HEADERS : basic + request, response header
- FULL : headers + body + meta data for both requests, response
@FeignClient Configuration
@FeignClient(name = "article", configuration = [ArticleFeignConfig::class])
interface ArticleClient
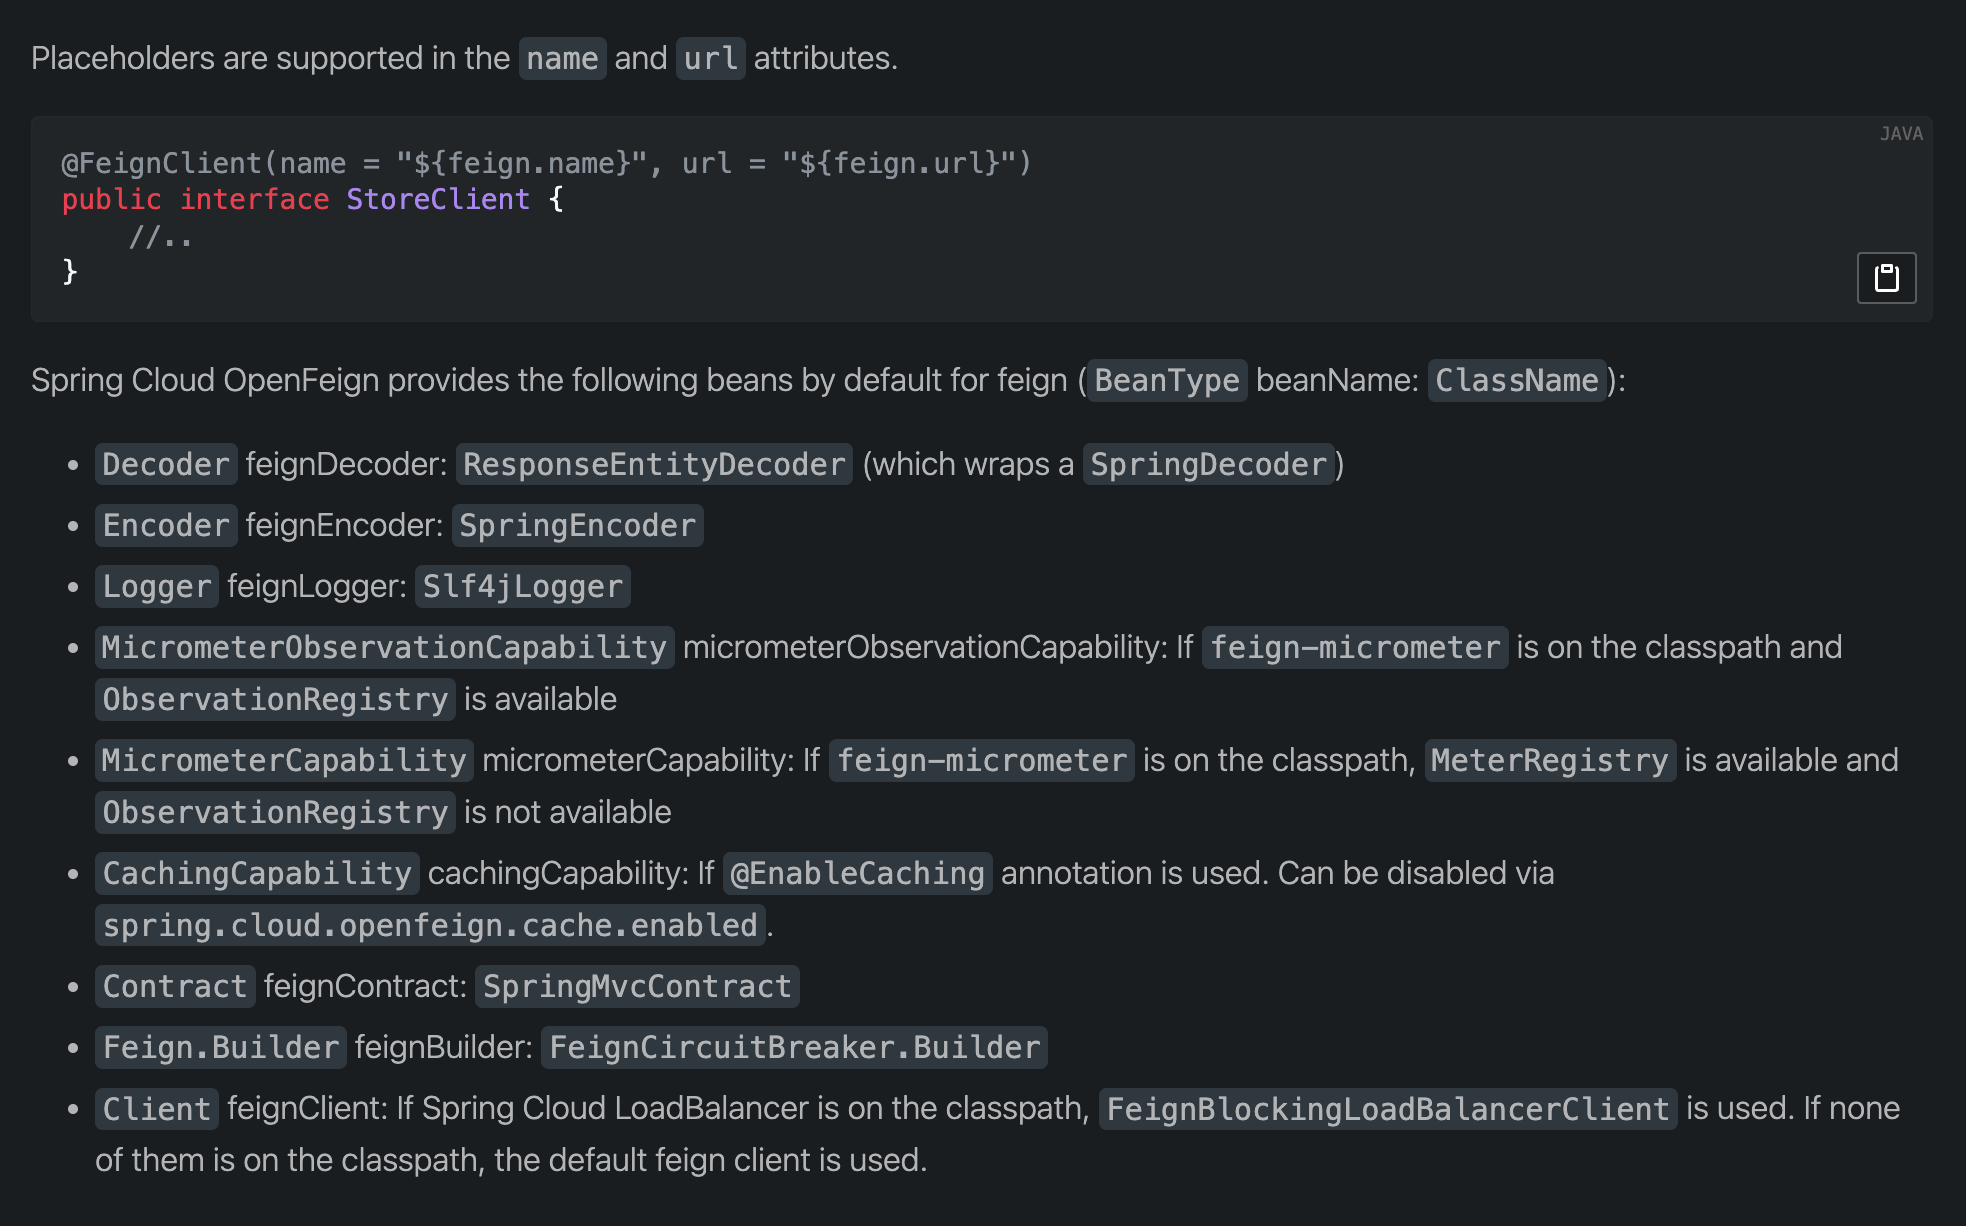
@FeignClient의 configuration 속성으로 client에 적용될 default config를 override 할 수 있습니다. 공식문서에 따르면 아래와 같은 config가 default로 세팅됩니다.

Interceptor
@FeignClient(name = "article", configuration = [ArticleFeignConfig::class])
interface ArticleClient

@Configuration
class ArticleFeignConfig {

    @Bean
    fun authorizationHeaderInterceptor() = RequestInterceptor {
        it.header(HttpHeaders.AUTHORIZATION, "Bearer ${UUID.randomUUID()}")
    }
}
Interceptor를 사용해서 헤더를 추가할 수 있습니다.
error handling
@FeignClient(name = "article", configuration = [ArticleFeignConfig::class])
interface ArticleClient

@Configuration
class ArticleFeignConfig {

    @Bean
    fun errorDecoder(): ErrorDecoder {
        return ErrorDecoder { _, response ->
            when (response.status()) {
                401 -> RuntimeException("401 발생")
                500 -> RuntimeException("500 발생")
                else -> RuntimeException("전대미문 article error 발생!")
            }
        }
    }
}
기본적으로 feign 클라이언트에서 예외가 발생하면 FeignException이 발생합니다. ErrorDecoder를 구현해서 빈으로 등록하면 Error처리를 별도로 핸들링할 수 있습니다.
@Configuration 애노테이션을 붙이면 전역적으로 등록되고, @Configuration 애노테이션 없이 @FeignClient의 속성으로 등록하면 해당 client에만 적용됩니다.
retry
@FeignClient(name = "article", configuration = [ArticleFeignConfig::class])
interface ArticleClient

@Configuration
class ArticleFeignConfig {

    @Bean
    fun retryer(): Retryer {
        // 1초를 시작으로 1.5를 곱하면서 재시도
        // 재시도 최대 간격은 2초
        // 최대 3번까지만 재시도
        return Retryer.Default(1000, 2000, 3)
    }
}
retryer의 경우 별도로 등록하지 않으면 Retryer.NEVER_RETRY 타입의 retryer 빈이 자동으로 등록되어 재시도를 비활성화합니다. 하지만 retryer 빈을 위와 같이 별도로 등록하 경우, IOException이 발생하거나 errorDecoder에서 retryableException이 발생하게 되면 재시도를 수행합니다.
@FeignClient(name = "article", configuration = [ArticleFeignConfig::class])
interface ArticleClient

@Configuration
class ArticleFeignConfig {

    @Bean
    fun retryer(): Retryer {
        return Retryer.Default(1000, 2000, 3)
    }

    @Bean
    fun errorDecoder(): ErrorDecoder {
        return ErrorDecoder { _, response ->
            when (response.status()) {
                401 -> RuntimeException("401 발생")
                500 ->
                    RetryableException(
                        response.status(),
                        "500 에러 발생, 재시도합니다.",
                        response.request().httpMethod(),
                        1, // retryer에서 설정한 최대 시간보다는 작아야함.
                        response.request(),
                    )

                else -> RuntimeException("전대미문 article error 발생!")
            }
        }
    }
}
file up / download
아직까지 feign에서는 request에 대한 stream upload를 지원하진 않고, stream download만 지원합니다.
feign file stream 관련 이슈
https://github.com/OpenFeign/feign/issues/220
https://github.com/OpenFeign/feign/issues/1243
기본적으로 feign client에는 별도의 설정이 없다면 FeignClientsConfiguration클래스의 feignEncoder 메서드로 인해 SpringEncoder가 빈으로 등록됩니다. 그리고 해당 코드를 따라 들어가다 보면 SpringEncoder가 등록되는데 아래와 같은 코드로 등록됩니다.
@Configuration(proxyBeanMethods = false)
public class FeignClientsConfiguration {

    @Bean
    @ConditionalOnMissingBean
    @ConditionalOnMissingClass("org.springframework.data.domain.Pageable")
    public Encoder feignEncoder(ObjectProvider<AbstractFormWriter> formWriterProvider,
    ObjectProvider<HttpMessageConverterCustomizer> customizers) {
        return springEncoder(formWriterProvider, encoderProperties, customizers);
    }

    private Encoder springEncoder(ObjectProvider<AbstractFormWriter> formWriterProvider,
    FeignEncoderProperties encoderProperties, ObjectProvider<HttpMessageConverterCustomizer> customizers) {
        AbstractFormWriter formWriter = formWriterProvider.getIfAvailable();

        if (formWriter != null) {
            return new SpringEncoder(new SpringPojoFormEncoder(formWriter), messageConverters, encoderProperties,
            customizers);
        }
        else {
            return new SpringEncoder(new SpringFormEncoder(), messageConverters, encoderProperties, customizers);
        }
    }
}
spring-cloud-starter-openfeign 의존성에 의해 spring web에서 사용하는 messageConverters가 주입되기 때문에 별도의 세팅 없이 multipart/form-data 형식의 데이터를 처리할 수 있습니다. 따라서 업로드의 경우에는 multipart/form-data를 사용할 수 있습니다.
@FeignClient(name = "article", configuration = [ArticleFeignConfig::class])
interface ArticleClient {

    @PostMapping(value = ["/upload"], consumes = [MediaType.MULTIPART_FORM_DATA_VALUE])
    fun upload(@RequestPart file: MultipartFile): String

    @GetMapping("/download/{path}")
    fun download(@PathVariable path: String): Response
}
download의 경우에는 feign package의 Response 클래스를 사용하여 아래와 같이 스트림으로 처리할 수 있습니다.
@RestController
class ArticleController(
    private val articleClient: ArticleClient,
) {

    @GetMapping("/download/{path}")
    fun download(@PathVariable path: String, response: HttpServletResponse) {

        articleClient.download(path).body().asInputStream().use { ins ->
            response.outputStream.use { os -> ins.transferTo(os) }
        }
    }
}
참고
'Spring' 카테고리의 다른 글
| Spring - GraphQL 서버 구축하기 (0) | 2024.05.20 |
|---|---|
| Spring - CircuitBreaker (1) | 2024.04.07 |
| Spring Batch - 병럴 처리 (0) | 2024.02.04 |
| Spring Batch - Scope (0) | 2024.02.04 |
| Spring Batch - 리스너 (0) | 2024.02.01 |
소중한 공감 감사합니다